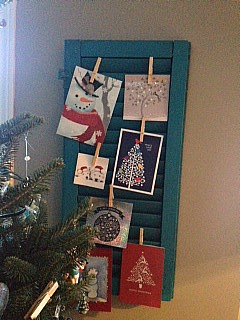
 Shutter's Up Card Holder
 As we all know Christmas is only a week away and most of us have our decorations up and some if not all gifts bought and maybe wrapped. Well if like me you still get Christmas cards in the mail then you probably display them somewhere for all to see. I have used wreaths, ribbon and card holders in the past but this year I decided to use a great old shutter I picked up on a weekend in Quebec with my husband. Yes poor guy I dragged him to a whole collection of antique and salvage stores. How romantic! I found the wooden shutter outside looking lonely and dejected so decided to grab it, knowing I could use it somehow. Now was the time.. . . . .
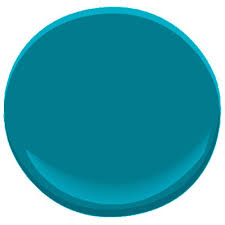
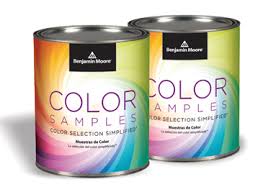
I cleaned up the shutter and then made my own chalk paint to paint it with. I had a leftover tester pot from a previous project in Benjamin Moore's Caribbean Blue water (2055-30)
See dresser makeover here http://urbannest.weebly.com/urbannest/category/all%20dressed72954ab96b)
RECIPE FOR CHALK PAINT
See dresser makeover here http://urbannest.weebly.com/urbannest/category/all%20dressed72954ab96b)
RECIPE FOR CHALK PAINT
- 3 PARTS PAINT
- 1 PART PLASTER OF PARIS
- WATER TO MIX
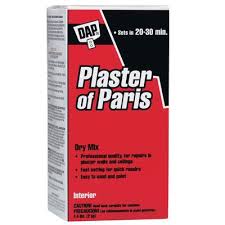
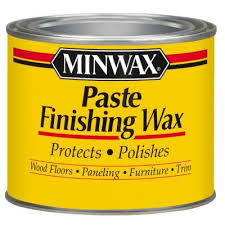
There are many recipes out there, this was the one I tried and it worked. Honestly though most of the time I just judge by eye and mix my own. Usually these tester samples are not designed to be durable on their own they are just for showing you the colour to help in your decision making. So I added furniture paste wax to the top once the shutter was mostly covered to protect it. I wanted a distressed feel still though so I left parts the original old brown. Here's the finished project. I used clothes pins to clip the cards on to the louvres. Simple and festive! My motto is re-purpose and re-use. Look around maybe you have something at home you can use too.

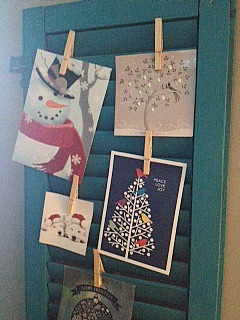
Salvaged shutter painted with homemade chalk paint. Ready for action

Christmas cards proudly displayed
I found a few other ideas people have used. Check them out here. . . . . .
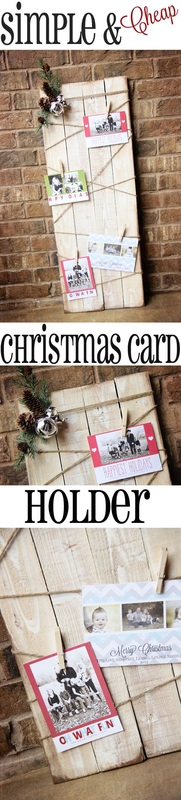
Wood and string display by Shanty2chic
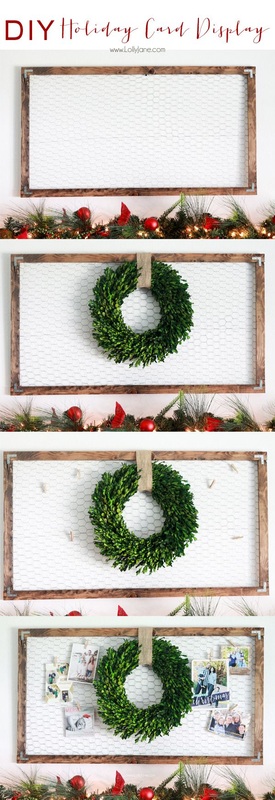
Wood 'n wire wreath and card display
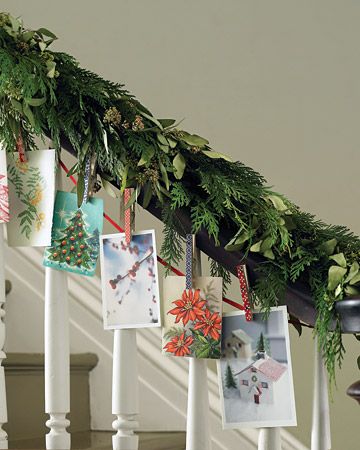
Bannister Christmas card garland- Nature inspired
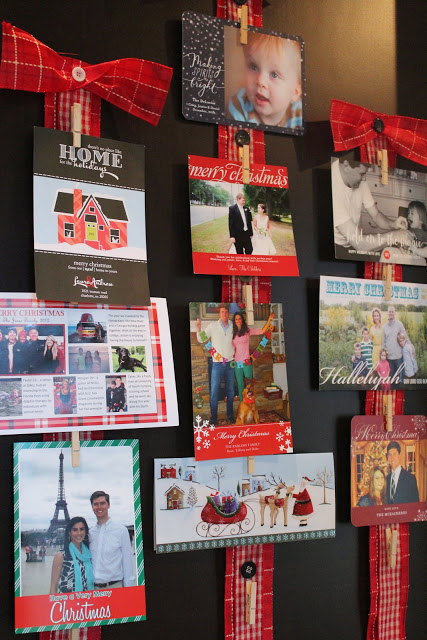
Ribbon in rows
That's it for today folks, get out there and check your mail box maybe you have actual cards to put up! let me know your creative ways to show them. Thanks for stopping by!
Merry Christmas Everyone!


 RSS Feed